
Do you want your visitors to quickly find what they are looking for on your Joomla website? The best thing you can do is show a search module on your landing page. Visitors find what they're looking for and stay on your website, becoming potential customers. If you add to that a powerful search engine like Algolia, there's nothing more to say!
But, what is Algolia? Algolia is a hosted full-text, numerical, and faceted search engine capable of delivering real-time results from the first keystroke.
In this article we will show you how you can improve your website search using the XT Search module to integrate Algolia with your Joomla website easily.
Table of Contents
Step 1: Create your Algolia account
First, you need to create your Algolia account. Algolia has an offering to accommodate most project requirements, including a COMMUNITY "Forever Free" tier.
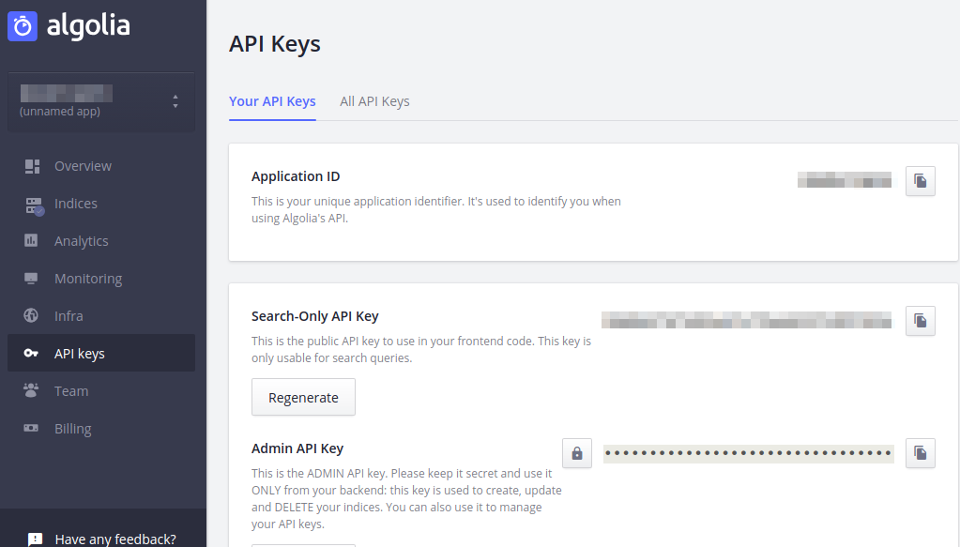
Once you have your Algolia account, in the Algolia Dashboard you will find your API Keys, needed to integrate Algolia with your website:
- Application ID
- Search-Only API Key
- Admin API Key
Step 2: Install XT Search for Algolia
Download the XT Search for Algolia module from the Download Area, and install like any other Joomla extension.
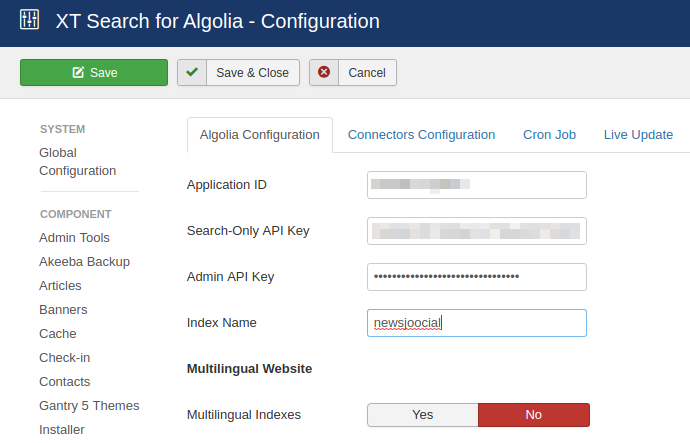
Go to XT Search for Algolia, click on Options and fill the Application ID, Search-Only API Key, Admin API Key and the Index Name you have chosen:
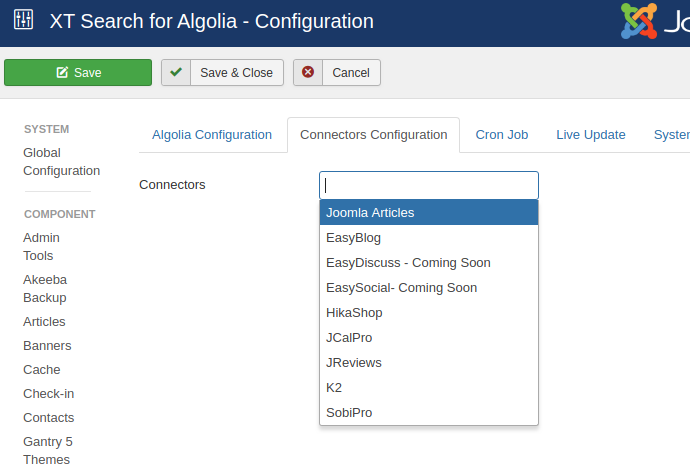
Define the Connector you are going to use. The Connectors control which extension is going to be indexed. In this case, we are working with Joomla Articles.
Step 3: Index Generation
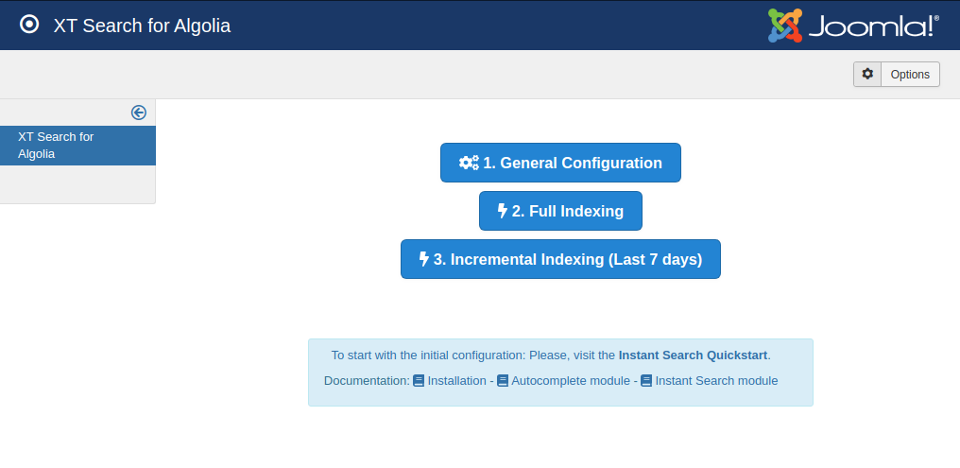
When the Connector and Algolia are configured, the extension is ready to be indexed. There are two ways to do it: Manually in the Control Panel, or Automatically with a Cron Job. Manual indexation is the simplest method and can be executed directly on the backend.
To execute this option, please, click on the button and wait until the process is completed.
Step 4: Front-end Search Module
Once the initial installation and indexation are ready, it is time to configure the front-end search.

The XT Search for Algolia - Autocomplete module is the natural first step.
Go to the XT Search for Algolia - Autocomplete module and fill the settings:
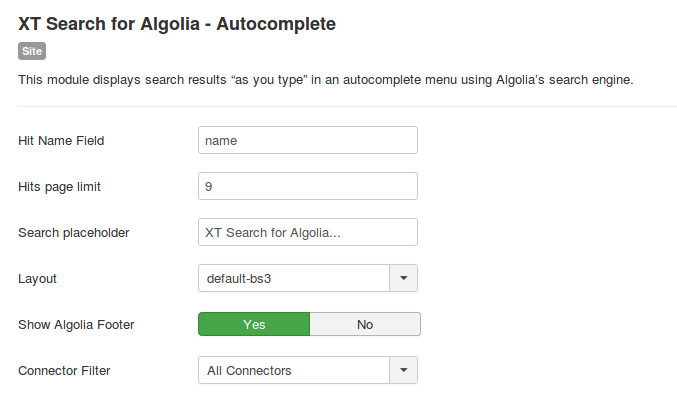
Select the pages the module will be shown and the position
Step 5: Check the final result
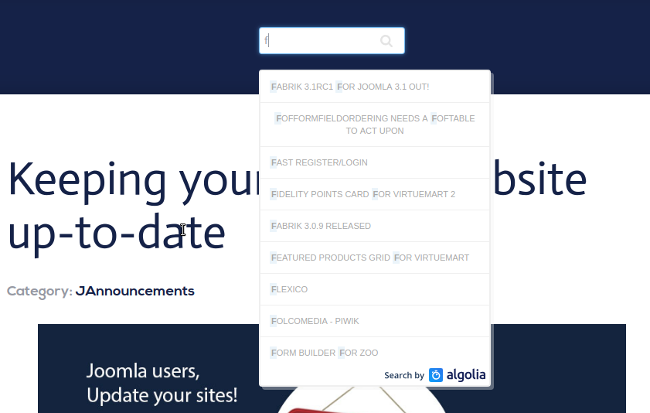
Visit your site front end. Take a look at your landing page you wanted to show a search module. You will see that it now includes your Search module. Try to look for any content of the website, and you can check how the AutoComplete Module works.
After the initial installation, indexation and the configuration of the Autocomplete module, you can continue with other search modules. In our next tutorial, we are going to show you how to complete the advanced Instant Search.


