# How to Autopost from Joomla! to Instagram
In this tutorial, we are going to show how you can auto post from Joomla! to Instagram.
# Prerequisites
- Perfect Publisher 9 or superior
- An Instagram Business Account. If the account is not professional, please, change it before starting the tutorial. For more information: About Professional Accounts (opens new window).
- A Facebook page
WARNING
On Joomla 4, the System - HTTP Headers plugin secures the default browser configuration with a high security/privacy standard. In particular the "Cross-Origin-Opener-Policy" restricts the Facebook Login. Disable the "Cross-Origin-Opener-Policy" setting while you authorize the channel.
Once you have checked the prerequisites, proceed with step 1.
TIP
Images in Link Shares
- The minimum allowed image dimension is 200 x 200 pixels.
- The size of the image file must not exceed 8 MB.
- Use images that are at least 1200 x 630 pixels for the best display on high resolution devices. At the minimum, you should use images that are 600 x 315 pixels to display link page posts with larger images.
- If your image is smaller than 600 x 315 px, it will still display in the link page post, but the size will be much smaller.
- We've also re-designed link page posts so that the aspect ratio for images is the same across desktop and mobile News Feed. Try to keep your images as close to 1.91:1 aspect ratio as possible to display the full image in News Feed without any cropping.
- Our crawler only accepts gzip and deflate encodings, so make sure your server uses the right encoding.
For more information: https://developers.facebook.com/docs/sharing/webmasters/images (opens new window)
# STEP 1: Download and install Perfect Publisher
Download the extension from Extly's Download Area (opens new window), unzip and install Perfect Publisher in Joomla! backend with the standard procedure.
About Perfect Publisher updates: Install the update with the same procedure.
Once you have proceeded with the installation:
-Perfect Publisher component has been installed -System plugin - Perfect Publisher Automator has been installed and enabled to process new content and posts every 3 minutes -System plugin - Perfect Publisher for Joomla! Content (Articles) has been installed and enabled to publish Joomla! content.
TIP
Remember to assign your Download ID to enable all features.
# STEP 2: Set up your Facebook Business account
Publishing from a website to Instagram is done using the same app as posting to Facebook. That is why it is necessary to link the Facebook page with the business Instagram account in the Facebook Business Suite, https://business.facebook.com/ (opens new window).
In addition, it is an advised practice to declare the ownership of Pages, the associated domains, users, roles, and apps in the Facebook Business Manager.
If you have not configured yet your Business account, follow the steps detailed here: Set up your Facebook Business account (opens new window)
# STEP 2.1: Set up your Instagram business account
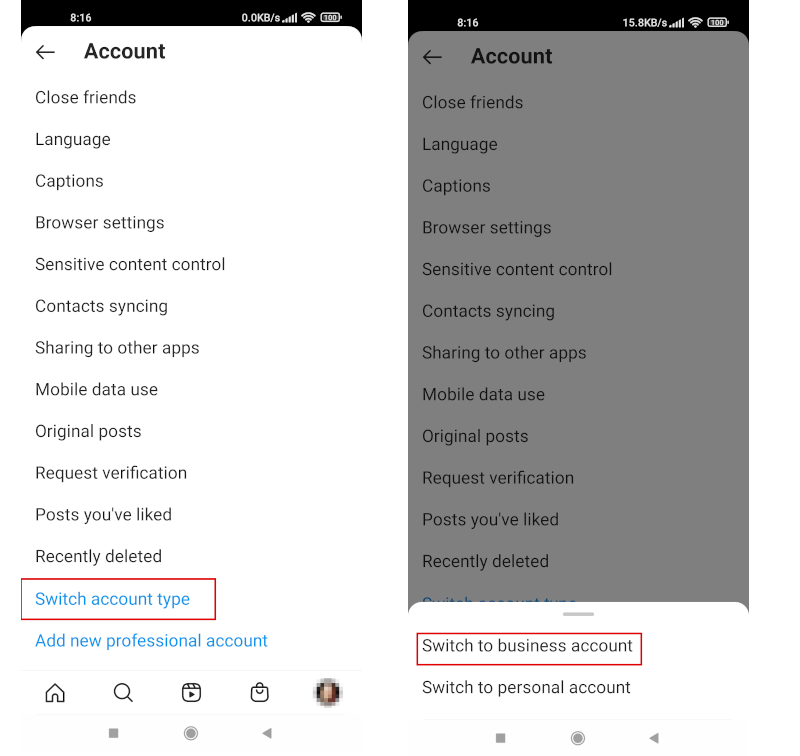
In your Instagram mobile application, go to Settings, Account and select Switch account type. Then, select Switch to business account.
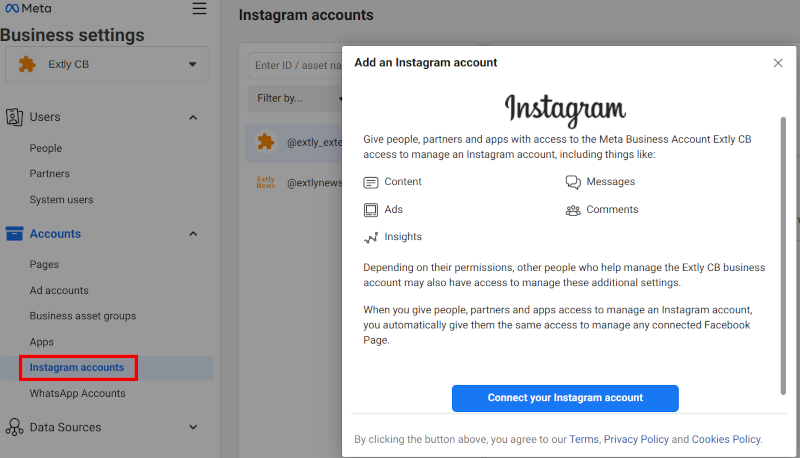
# STEP 2.2: Connect your Instagram account
Go to Business Settings (opens new window), Accounts, Instagram Accounts and click on Add. Follow the steps required to connect your Instagram account to your Business Suite.
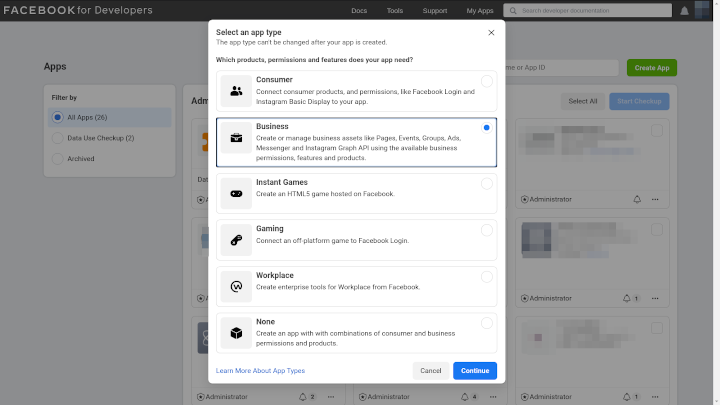
# STEP 3: Create an app
Login at https://developers.facebook.com/ (opens new window) with your Facebook username and password. Go to My Apps, and click on Create App.

Select the option Business
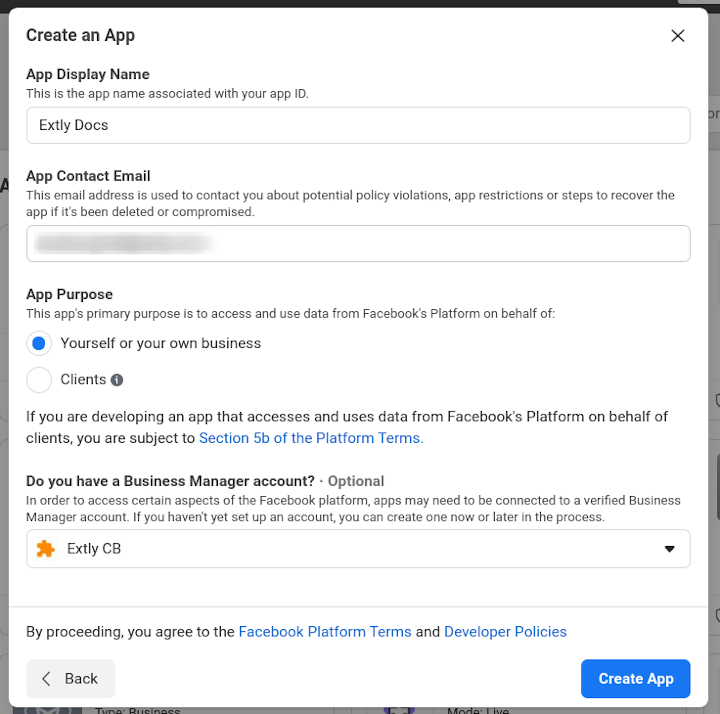
Complete the App Display Name, App Contact Email and the App Purpose. If you already have set your Business Manager account (recommended), select it and click on Create App.
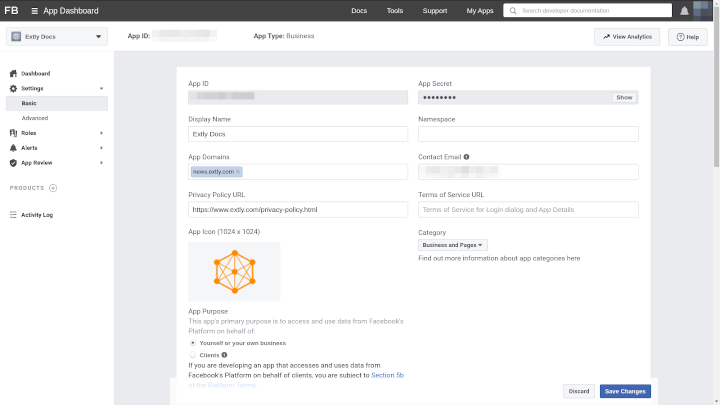
In the App Dashboard, go to Settings/Basic to find your App ID and App Secret. Remember to complete the mandatory information:
- Privacy Policy URL
- Upload App Icon
- Choose a category
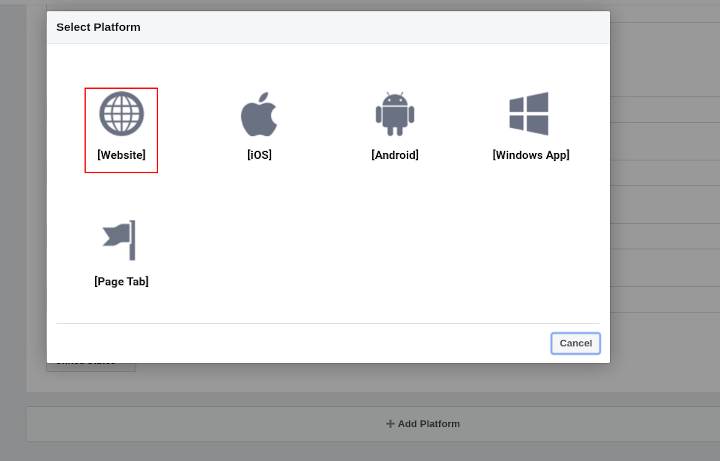
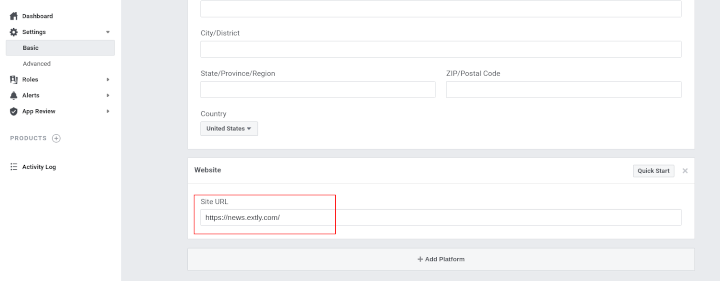
Go to Add Platform, select Website and enter your website URL, save changes.
# STEP 3.1: Permissions and Features
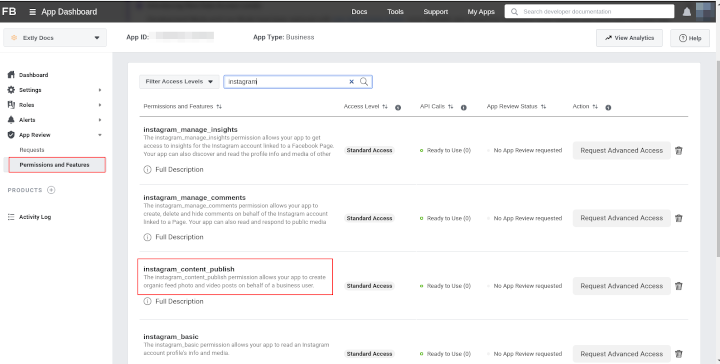
With the release of API 8, the App Review process has been simplified, introducing a new access level for Apps (BAUPA, Business Asset User Profile Access). By default, all new apps created with API 8 are granted Standard Access for the permissions required to publish to a page, so it is unnecessary to submit the app for review.
To publish to Instagram, you need to have Standard Access for Instagram Content Publishing. To find your app permissions, go to App Review, Permissions and Features:
# STEP 3.2: Facebook Login
If the App is on API v12 or superior, Facebook has a new option to configure the Facebook Login, and you must configure it.
- Click on Facebook Login/ Settings.
- Enable Login with the JavaScript SDK
- Configure Allowed Domains for the JavaScript SDK with your domain. For instance: https://www.extly.com/.
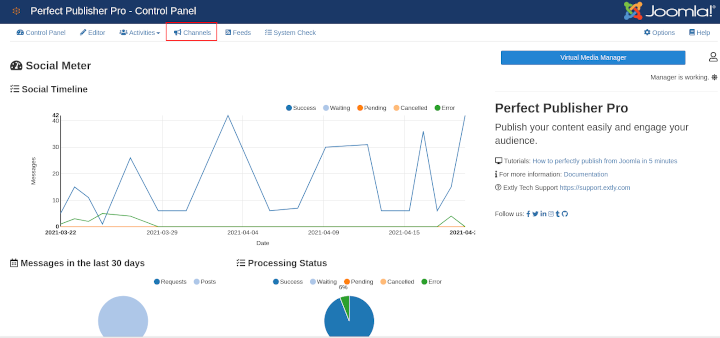
# STEP 4: Create and authorize a social channel
Go to the Perfect Publisher Control panel, select the Channels tab to create a new channel.
On Channel Tab, click on New, select the Channel Type and complete the Channel Data:

Go to Channel Details:
- Facebook Details: Complete the App ID and App Secret.

WARNING
We recommend using a new Facebook App for each channel. If you have different Apps assigned to the channels, you are sure that each App has the correct permissions set. If you re-use Apps, always click on the Login button to ensure that the permissions are added to each channel.
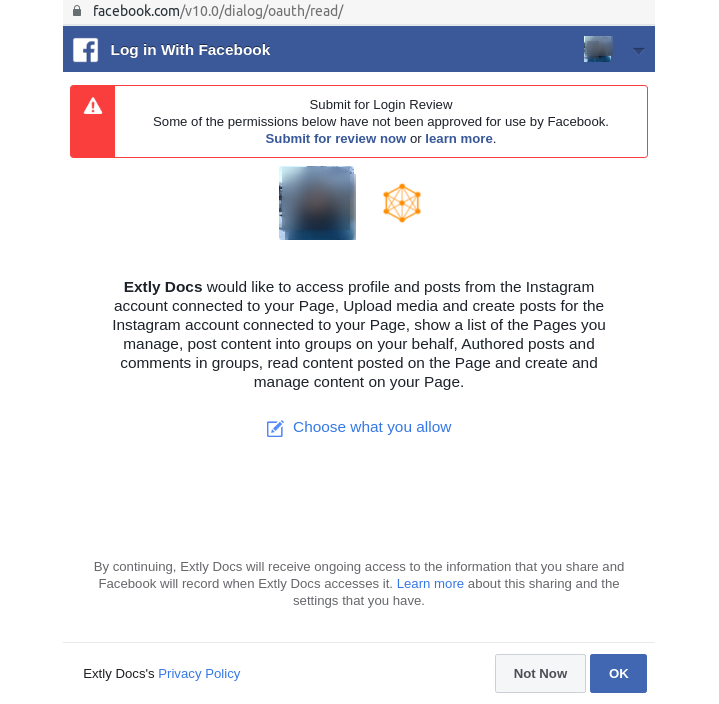
- Authorization: Click on the Facebook Login button and follow the steps.
TIP
The Facebook dialog may differ according to the Facebook API version

NOTE
The authorization opens a dialog to Facebook. If the dialog is not shown, double-check to confirm if your browser is blocking the dialog. In Chrome, the pop-up blocker could be preventing the opening of the dialog. In Firefox, the function activity tracking could be blocking the task.
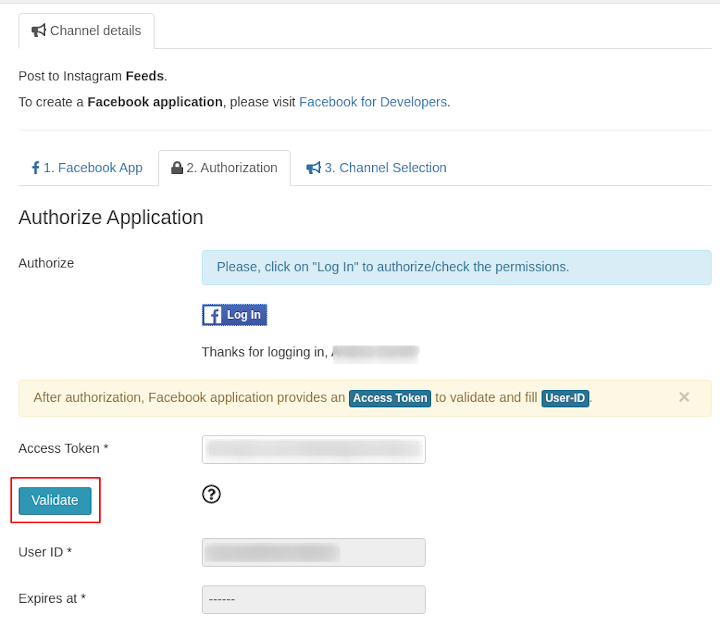
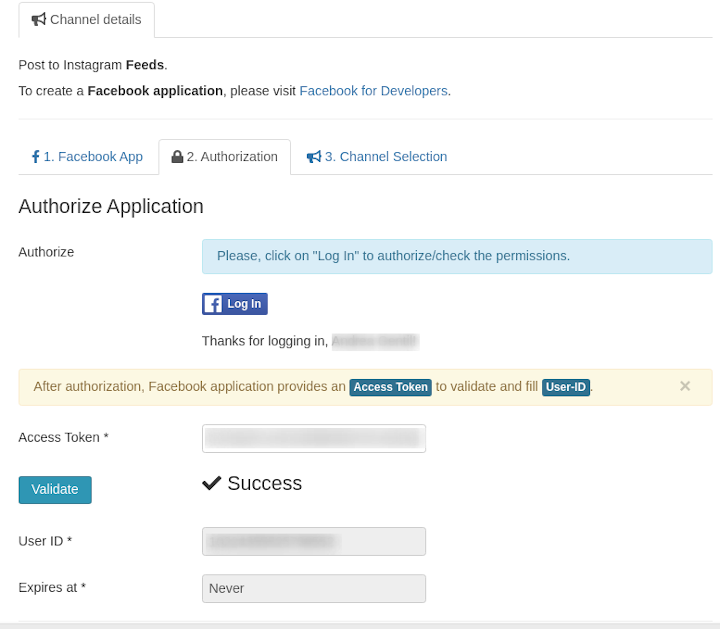
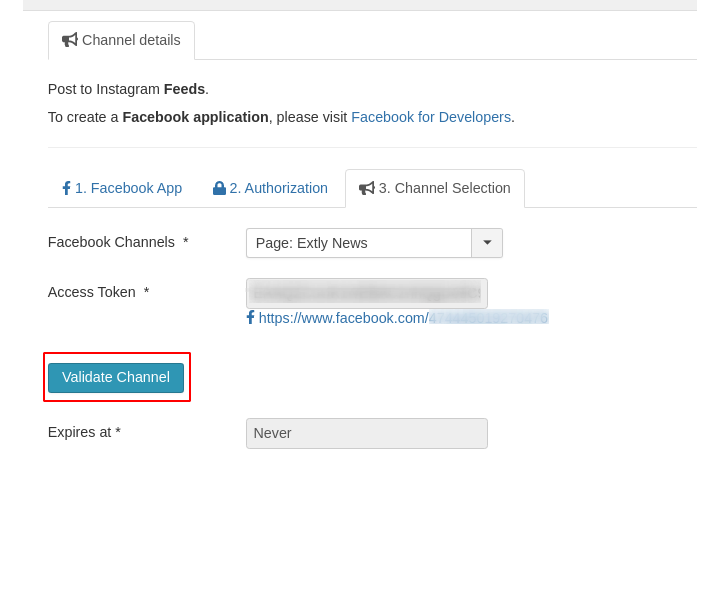
After the authorization, the Facebook application provides the Access Token to validate and fill the User-ID.
Click on "Validate". The User ID will be filled.
- Channel Selection: Select the Facebook page associated with the Instagram account. Click on Validate Channel. Save and Close.
Perfect Publisher is ready to publish!
A new authorization Access Token has been granted.
A new Instagram Channel has been created.
By default, all new articles are going to be published on Instagram
# STEP 5: Create a test article
- Create an article
- Check the Request list
- Wait 3 minutes, visit the front page
- Check the Posts list
- Check Instagram.