# How to Autopost from Joomla! to Twitter
In this tutorial, we will show how you can auto-post from Joomla! to Twitter.
WARNING
As of July 2018, you must apply for a Twitter developer account and be approved before you may create new apps. Once approved, you will be able to develop new apps from developer.twitter.com (opens new window).
WARNING
As of May 2023, Twitter X changed the terms of service and forced Twitter X API v2 on all accounts. If you receive the error message "You currently have access to Twitter X API v2 endpoints and limited v1.1", please, re-create your channels with Twitter X v2 channel, following this tutorial.
WARNING
EXPERIMENTAL: Twitter X API v2 is throwing authorization errors for some accounts. If your tweets aren't published, re-check the App configuration, follow the tutorial again, and re-authorize the channel.
Prerequisites:
- Perfect Publisher 9 or superior
- A Twitter Developer Account. How to apply for a Twitter Developer account (opens new window)
Once you have checked the prerequisites, proceed with step 1.
# STEP 1: Download and install Perfect Publisher
Download the extension from Extly's Download Area (opens new window), unzip and install Perfect Publisher in Joomla! backend with the standard procedure.
About Perfect Publisher updates: Install the update with the same procedure.
Once you have proceeded with the installation:
-Perfect Publisher component has been installed -System plugin - Perfect Publisher Automator has been installed and enabled to process new content and posts every 3 minutes -System plugin - Perfect Publisher for Joomla! Content (Articles) has been installed and enabled to publish Joomla! content.
TIP
Remember to assign your Download ID to enable all features.
# STEP 2: Create an app
As of July 2018, you must apply for a Twitter developer account and be approved before you may create new apps. Once approved, you will be able to create new apps from developer.twitter.com. We have prepared this tutorial to guide our users to apply for a developer account: Apply for a Twitter Developer Account (opens new window).
With the Twitter X API v2 released in May 2023, API access levels have changed. The Free level allows you to create an app for free and self-publish from Joomla with Perfect Publisher. For more information, visit this page: About the Twitter API (opens new window).
Login at https://developer.twitter.com/ (opens new window) with your Twitter username and password. Go to the Developer Portal, Dashboard.

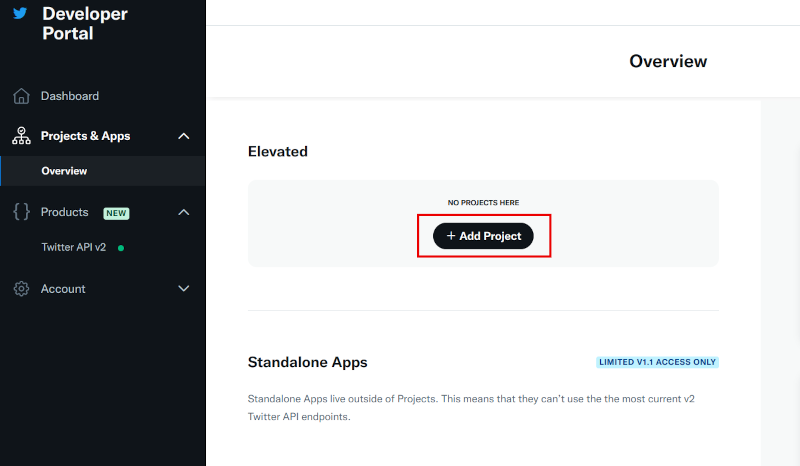
Go to Projects & Apps, Overview, Add Project.
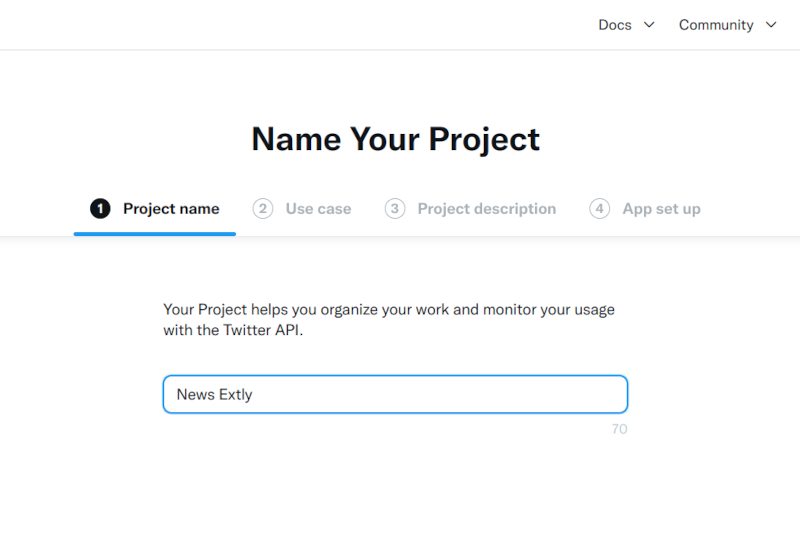
Fill in the Project name.
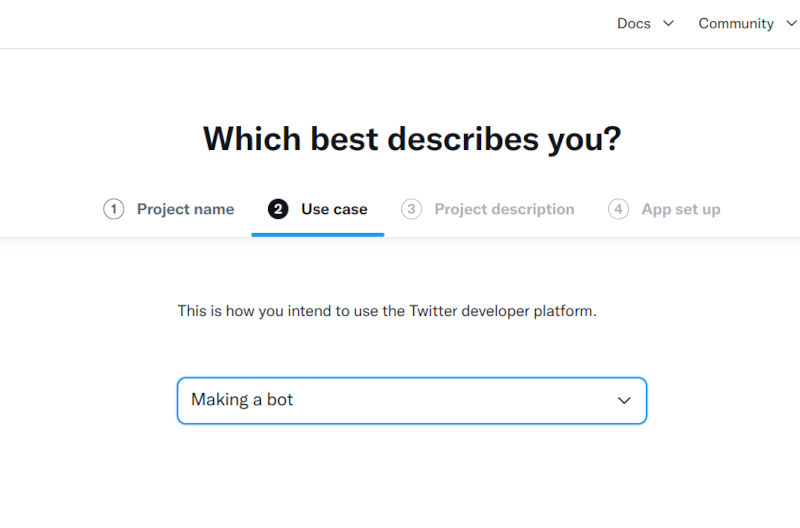
Select the Use Case, Making a bot:
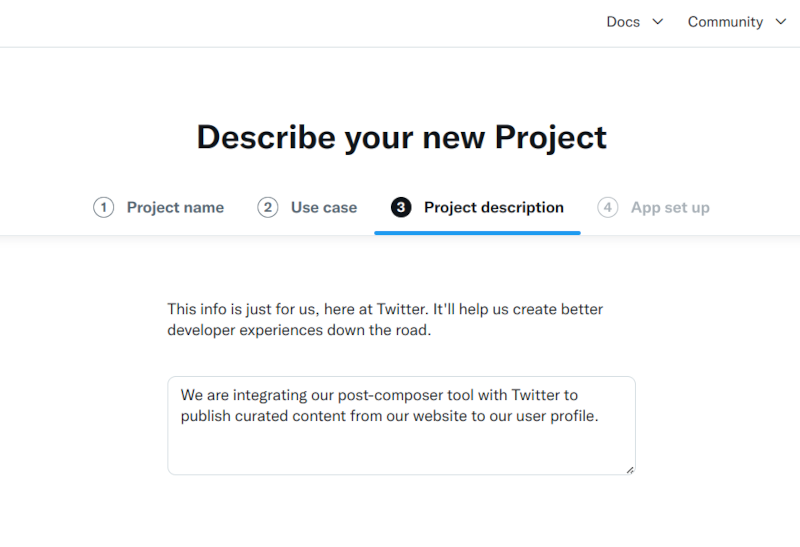
Fill in the Project Description:
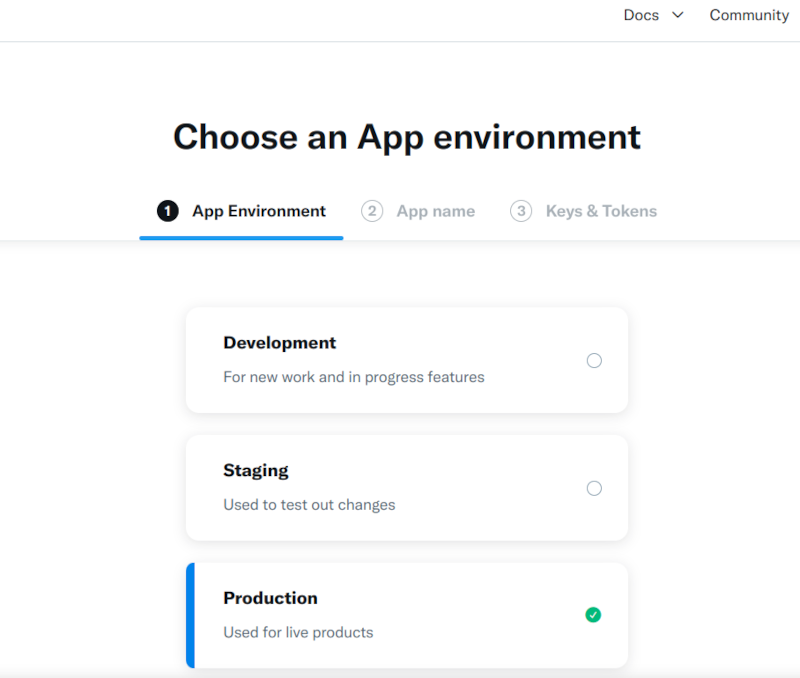
Choose an App environment:
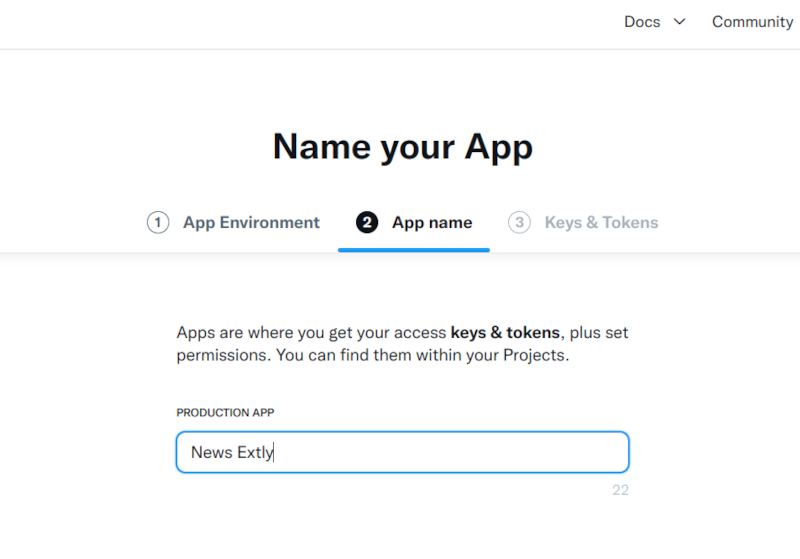
Fill in the App name:
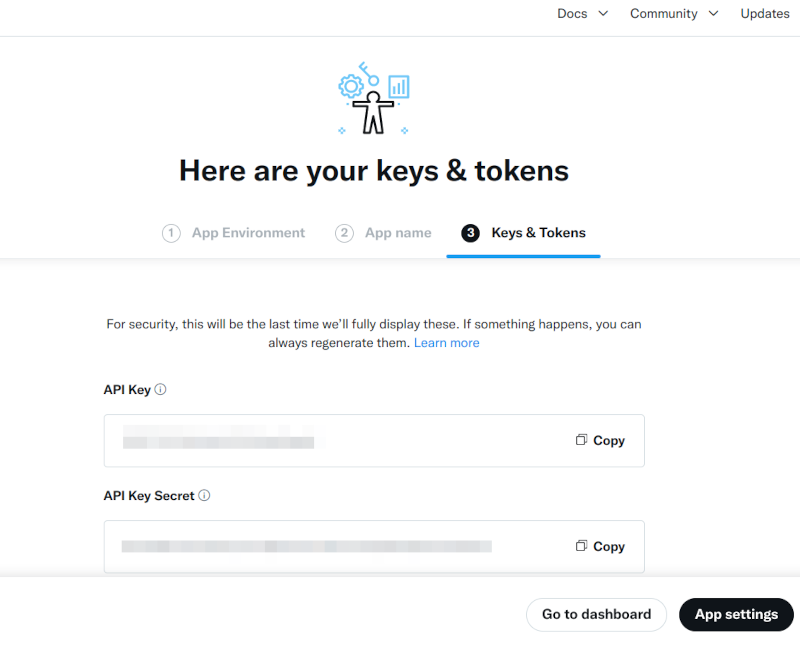
After creating the app, you will get the App Keys. For security, this is the last time Keys will be displayed. If you don't save them at this moment, you can regenerate them again later.
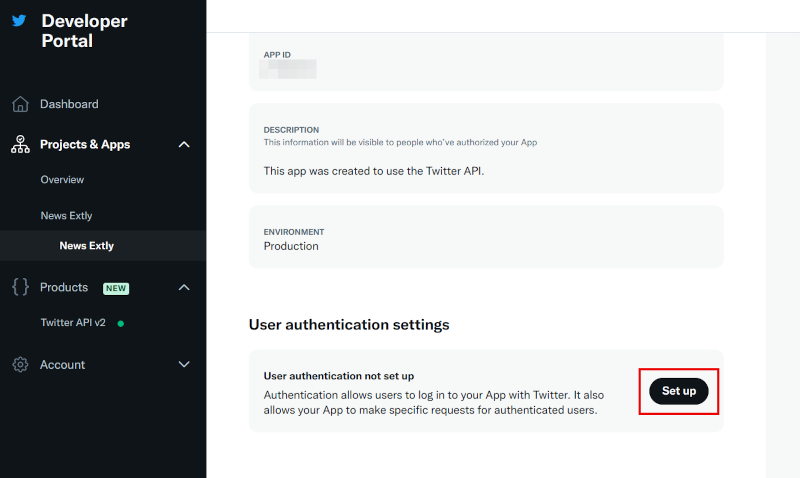
Go to Settings. There you will find the App ID, and you can upload a logo. Go to User authentication settings.
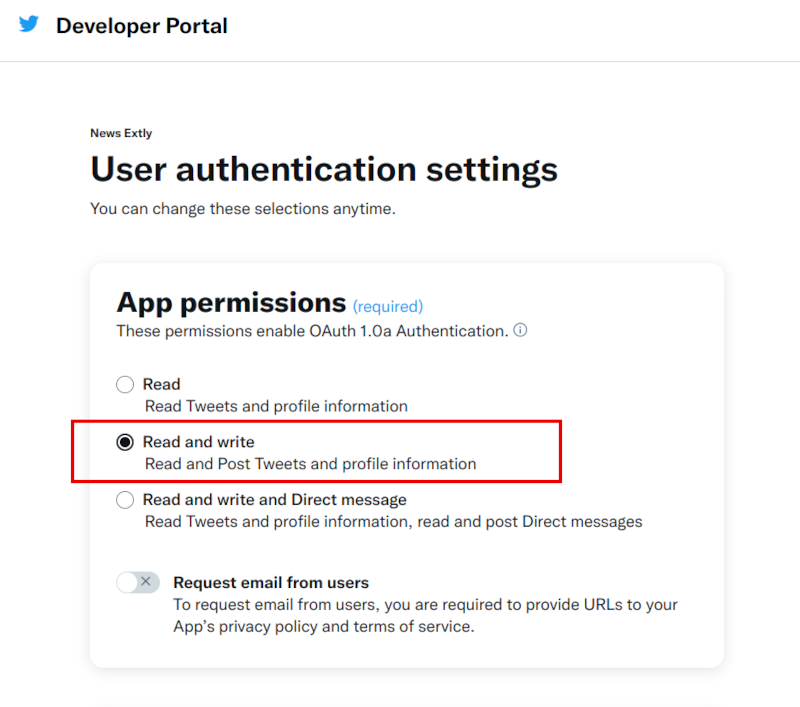
Change the App permissions to Read and Write.
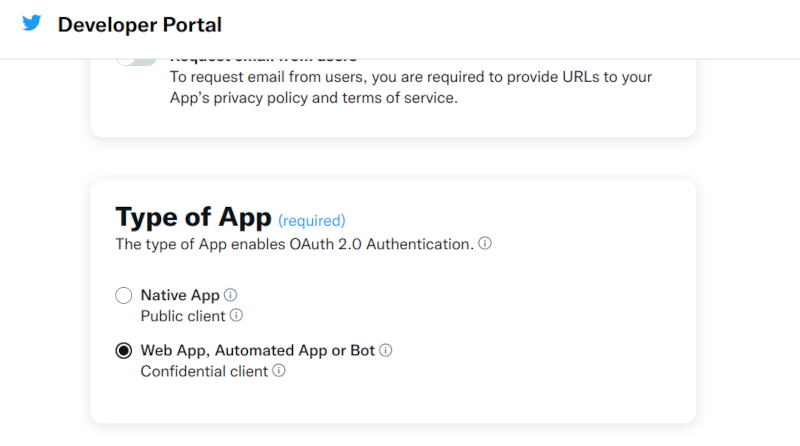
Select the Type of App
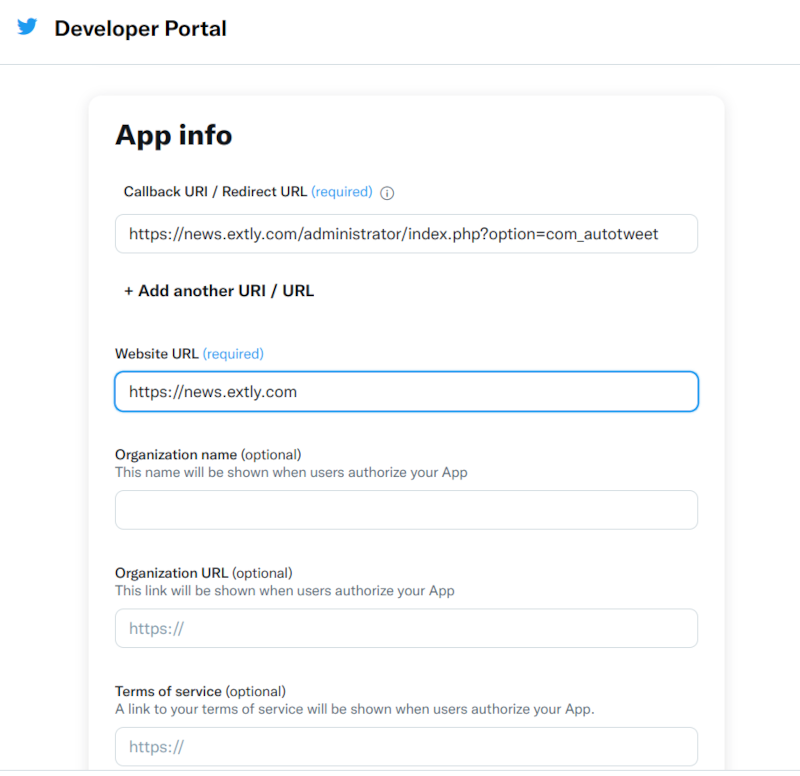
Fill in the App info:
Callback URI/Redirect URL: https://www.YOUR-DOMAIN.COM/administrator/index.php?option=com_autotweet
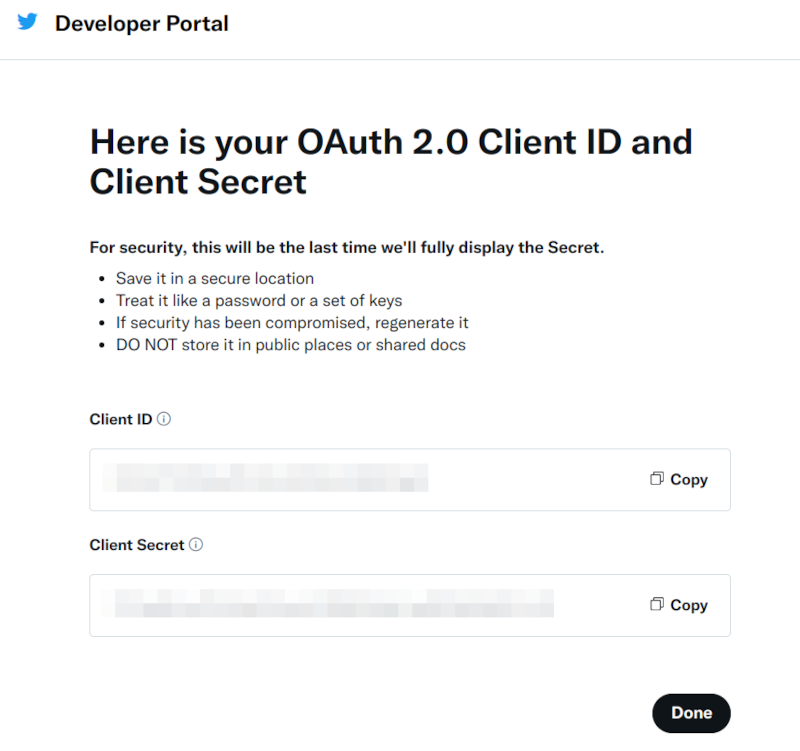
After completing the app details, you will get the Client ID and Client ID Secret. For security, this is the last time the Client IDs will be displayed. If you don't save them at this moment, you can regenerate them again later.
Go to Keys and Tokens to generate your Access Token and Access Token Secret.
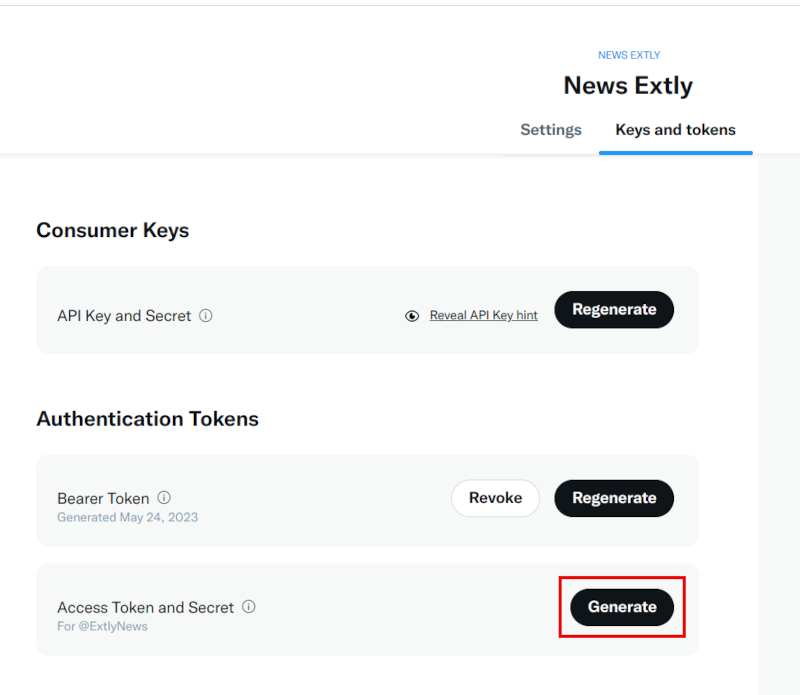
This will be the last time the Access Token and Access Token Secret will be displayed for security. If something happens, you can always regenerate them.
Verify that the Access Token and Access Token Secret are generated for Read and Write permissions. If not, you have to change the permissions and generate the token again.
At this point, you have all the required Keys and Tokens to authorize a channel.
# STEP 3: Create and authorize a social channel
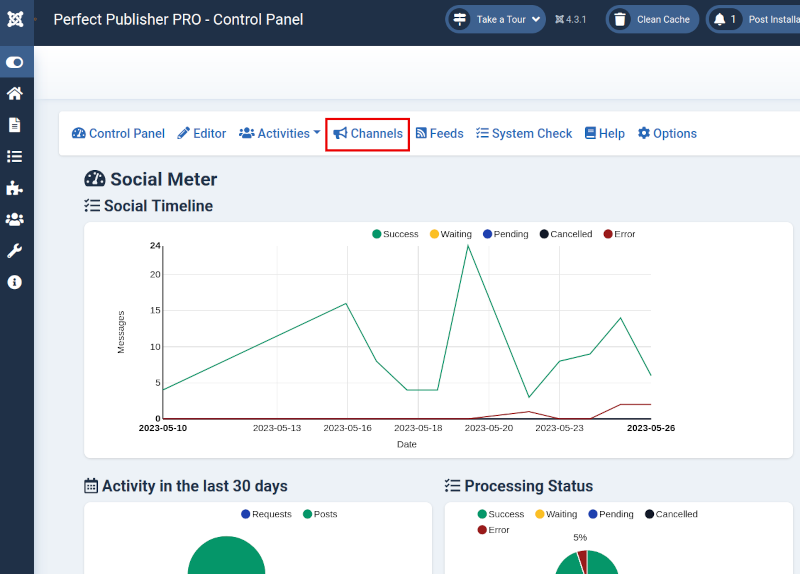
Go to the Perfect Publisher Control panel, and select the Channels tab to create a new channel.
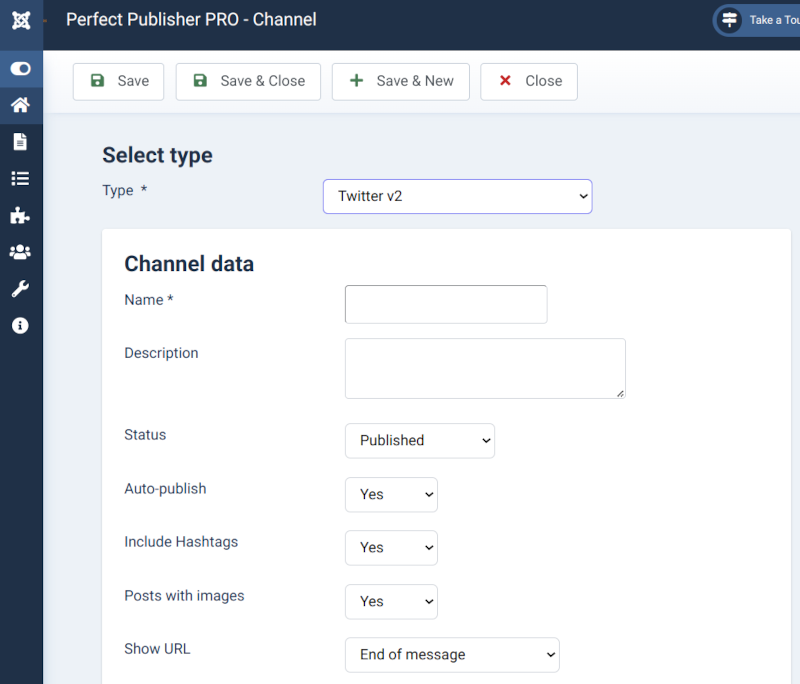
On Channel Tab, click on New, select the Channel Type Twitter X v2 and complete the Channel Data
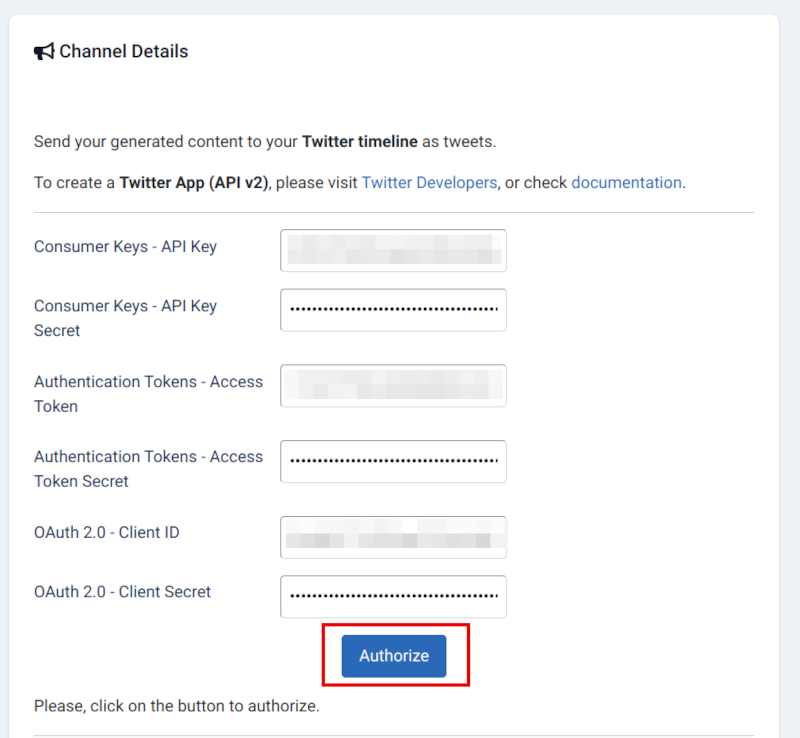
On Channel Details, fill the API Key, API Key Secret, Access Token, Access Token Secret, Client ID and Client ID Secret. Save the channel.
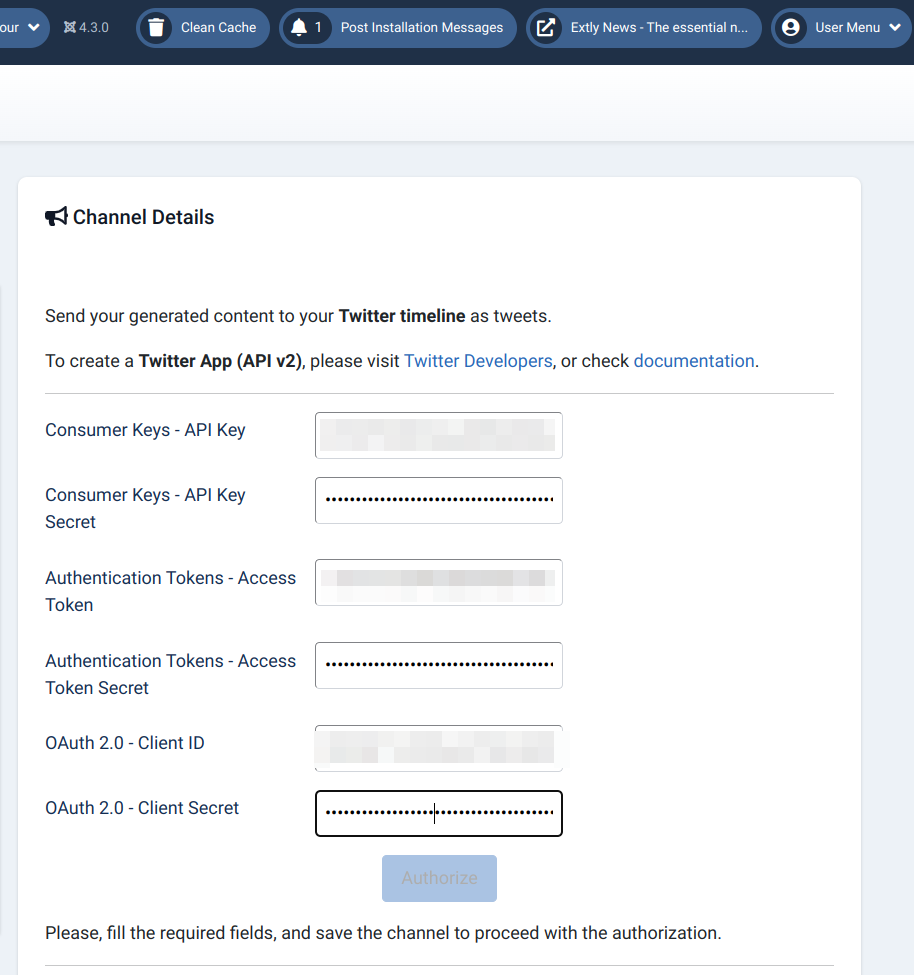
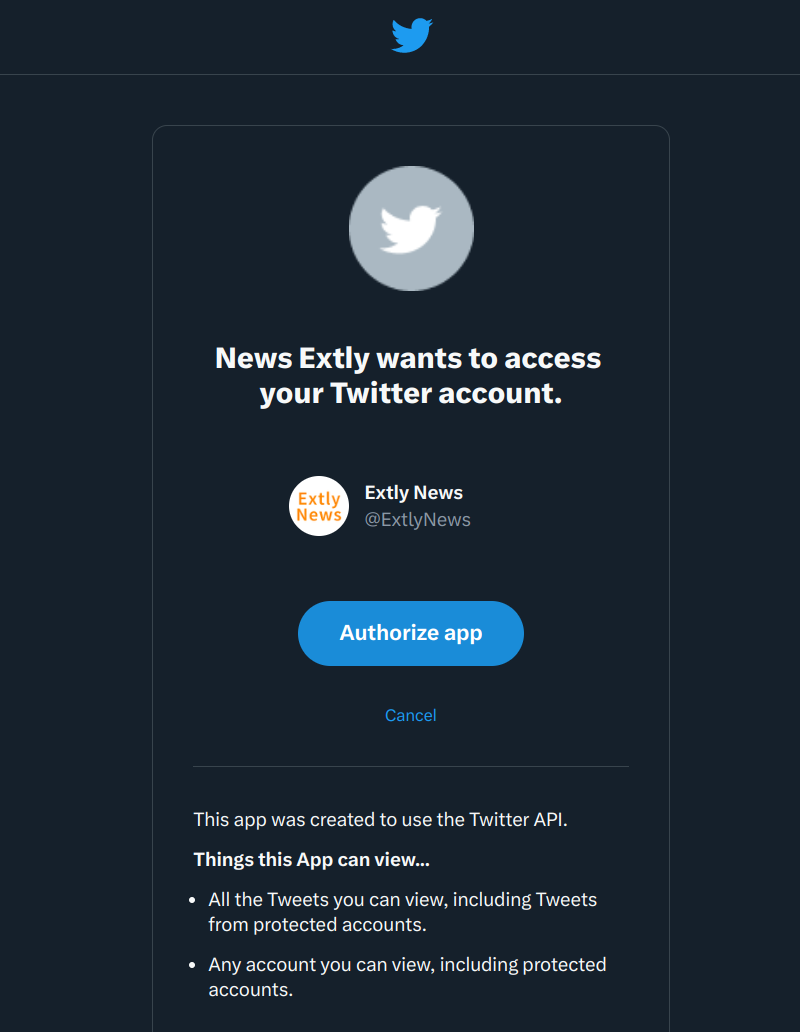
Authorize the channel.
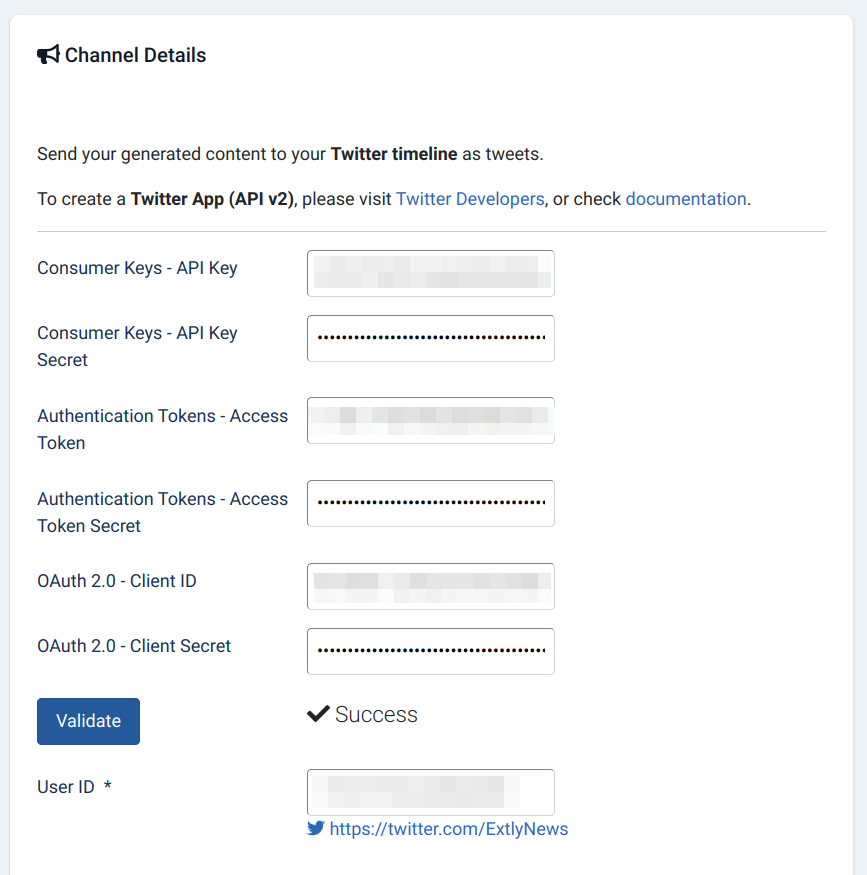
Click on "Validate". The User ID will be filled and save.
Perfect Publisher is ready to publish!
A new authorization Access Token has been granted.
A new Twitter Channel has been created.
By default, all new articles are going to be published on Twitter.
# STEP 4: Create a test article
- Create an article
- Check the Request list
- Wait 3 minutes, visit the front page
- Check the Posts list
- Check Twitter.